Our greatest panorama images suggestions, in addition to what digicam settings to make use of and kit to have when out capturing!
Virtually all photographers, whether or not they’re long-time execs or absolute inexperienced persons, find yourself creating a ardour for panorama images.
A wonderful panorama picture has the facility to encourage somebody to travwel, excite them about nature or encourage them to choose up a digicam themself.
It’s an interesting artwork kind, and the inventive potentialities of what somebody can produce are countless.
We’ve been working as skilled journey photographers since 2014, and a big a part of what we do focuses on panorama images.
Once we purchased our first digicam, a easy point-and-shoot, we had no thought the right way to take an excellent picture, however we have been left continually in awe of the beautiful photographs we’d see hanging in galleries and posted on social media.
Our travels inspired us to enhance our expertise, and regardless of being utterly self-taught, we now make a residing from images.
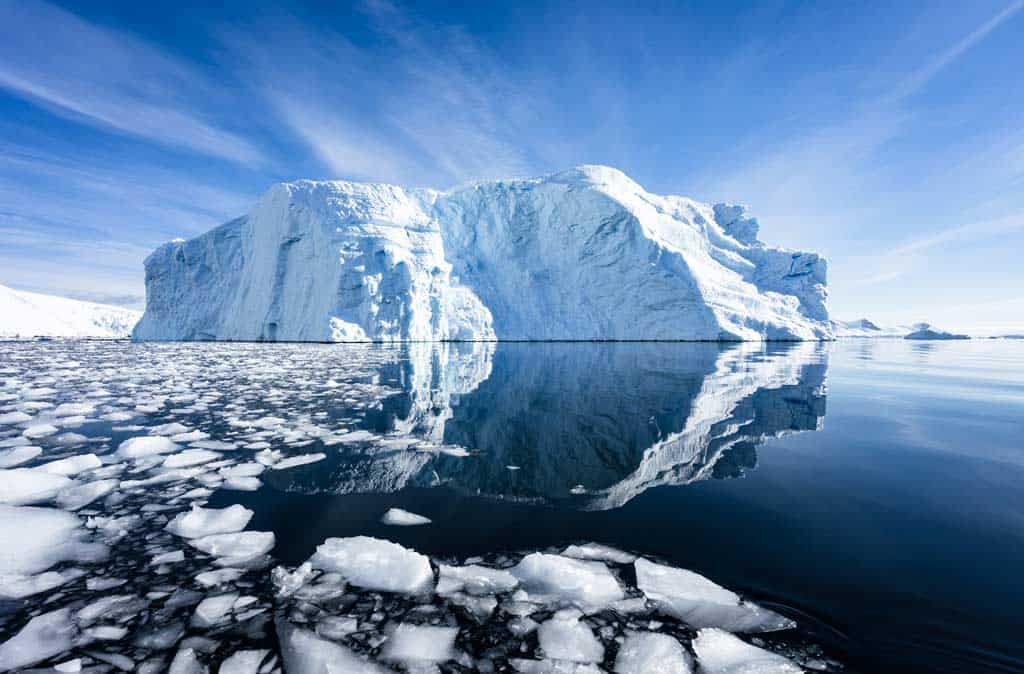
Educating has turn into one among our greatest passions, and it’s now our absolute thrill to have the ability to train others the right way to take higher images, both by this web site, on our social channels, or on our journey images excursions in Central Asia and Antarctica.
Our Greatest Panorama Pictures Ideas
Seeing as we’ve turn into recognized for our panorama pictures, we’re excited to lastly put collectively our greatest images suggestions landscapes on this epic information that will help you enhance your personal photographs.
We hope you get one thing out of it, and should you do, or you will have one thing so as to add, ensure you depart a remark beneath!
Okay, let’s get you on the highway to changing into a greater panorama photographer!
All images on this article have been taken by us, Alesha Bradford and Jarryd Salem, and shot on both a Sony A7ii, Sony A7iii, Sony A7Riii, or a DJI Mavic 2 Professional.
Be sure you comply with us on Instagram for extra images from our travels around the globe.
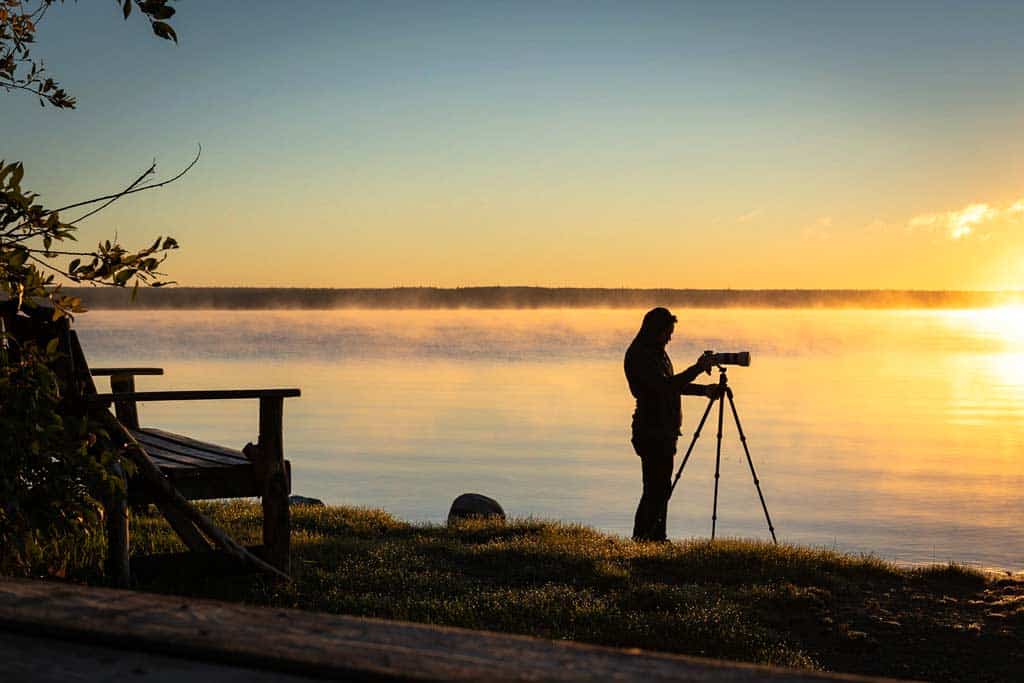
Use a Tripod
The primary tip we have now on the right way to take higher panorama images is to virtually at all times use a tripod.
Ensuring you will have a pointy, clear picture is crucial in terms of epic landscapes, and one of the simplest ways to do that is to remove any probability of getting a blurry or high-noise picture.
Ideally suited panorama images settings* are often round f/8-f/11 to get lengthy depth of subject, and ISO 100, which suggests to dial this in with good publicity (mild), you might want to modify the shutter pace accordingly.
*Be aware – This isn’t a tough rule, and naturally might be damaged relying on the inventive model you’re making an attempt to attain and situations. Learn the underside of our publish for extra panorama images settings suggestions.
Within the golden hour, blue hour and low-light situations, this may occasionally imply utilizing very sluggish shutter speeds that might be not possible to handhold with out introducing digicam shake.
By putting your digicam on a tripod you remove the possibility of transferring the digicam by accident, and might actually concentrate on all the opposite components of your shot.
Use a distant shutter launch or the 2-second timer characteristic in your digicam to provoke the shot with out bumping the digicam along with your hand.
Take a look at our information to the most effective journey tripods by clicking right here.
Location Scouting is Important
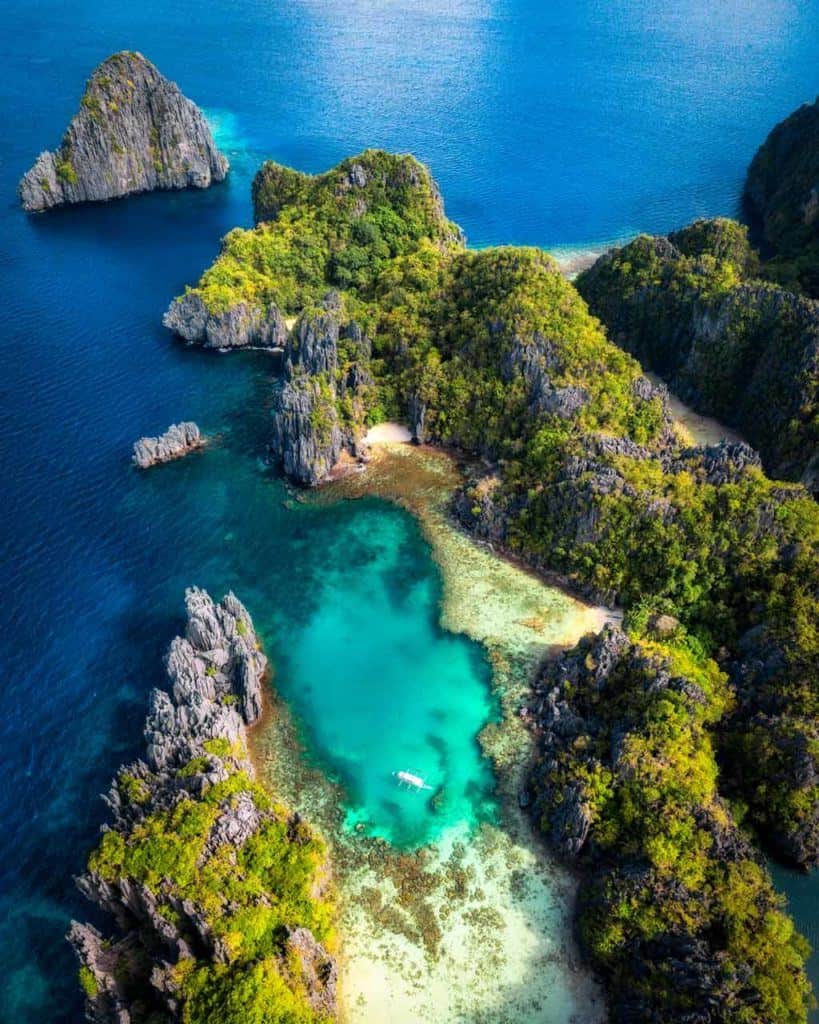
Some locations appear as if they have been created only for panorama photographers.
Iceland, Patagonia, Faroe Islands – little question you’ve seen hundreds of photographs from these mind-blowing locations, all making you wish to pack up your digicam gear, purchase a aircraft ticket, and seize your personal images.
The factor is photographing these standard spots is sort of too simple. While you arrive, you most likely already know what photographs you wish to get and the place.
There are viewpoints and well-worn paths to get to probably the most iconic angles, and so long as the climate cooperates and you’ve got the abilities, you’re more likely to come away with some incredible pictures.
However what concerning the lesser-known locations which might be equally as lovely, if no more so, however don’t have the overwhelmed observe main you there?
Or what should you’re on a household vacation and you must make do with wherever you find yourself?
That’s the place location scouting turns into additional essential, each earlier than you journey someplace, and when you arrive.
Skilled panorama photographers spend hours scouting out the place they wish to shoot.
Earlier than they depart residence, they’re utilizing Google Earth, 500px, Flickr and different instruments to seek out the most effective angles and positions to images from.
They use PhotoPills (our private favorite) and the Photographer’s Ephemeris to study when the golden and blue hours are on a specific day, and the place the solar will rise and set.
Then as soon as they’re within the subject, photographers usually go and see these locations effectively earlier than they wish to shoot to ensure it’s nearly as good as they envisioned. If it’s not, they’ll have a back-up location to take a look at.
In different phrases, they’ve a plan.
The reality is the probabilities of merely displaying up someplace by chance and discovering the most effective composition and lighting instantly is extraordinarily low.
So if you wish to get the best possible panorama images, get used to scouting out when and the place to shoot from earlier than you arrive, and formulate a plan.
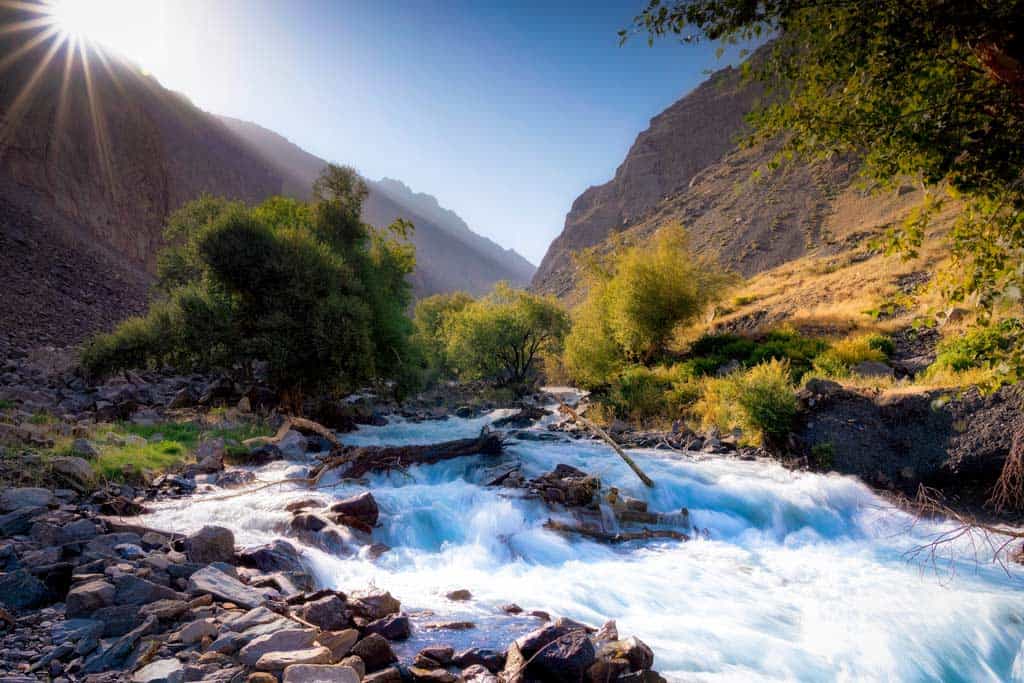
Search for Main Traces
Panorama images isn’t nearly beautiful surroundings and utilizing the Rule of Thirds.
With out good composition, mild and framing, even probably the most lovely landscapes can look mediocre in a photograph.
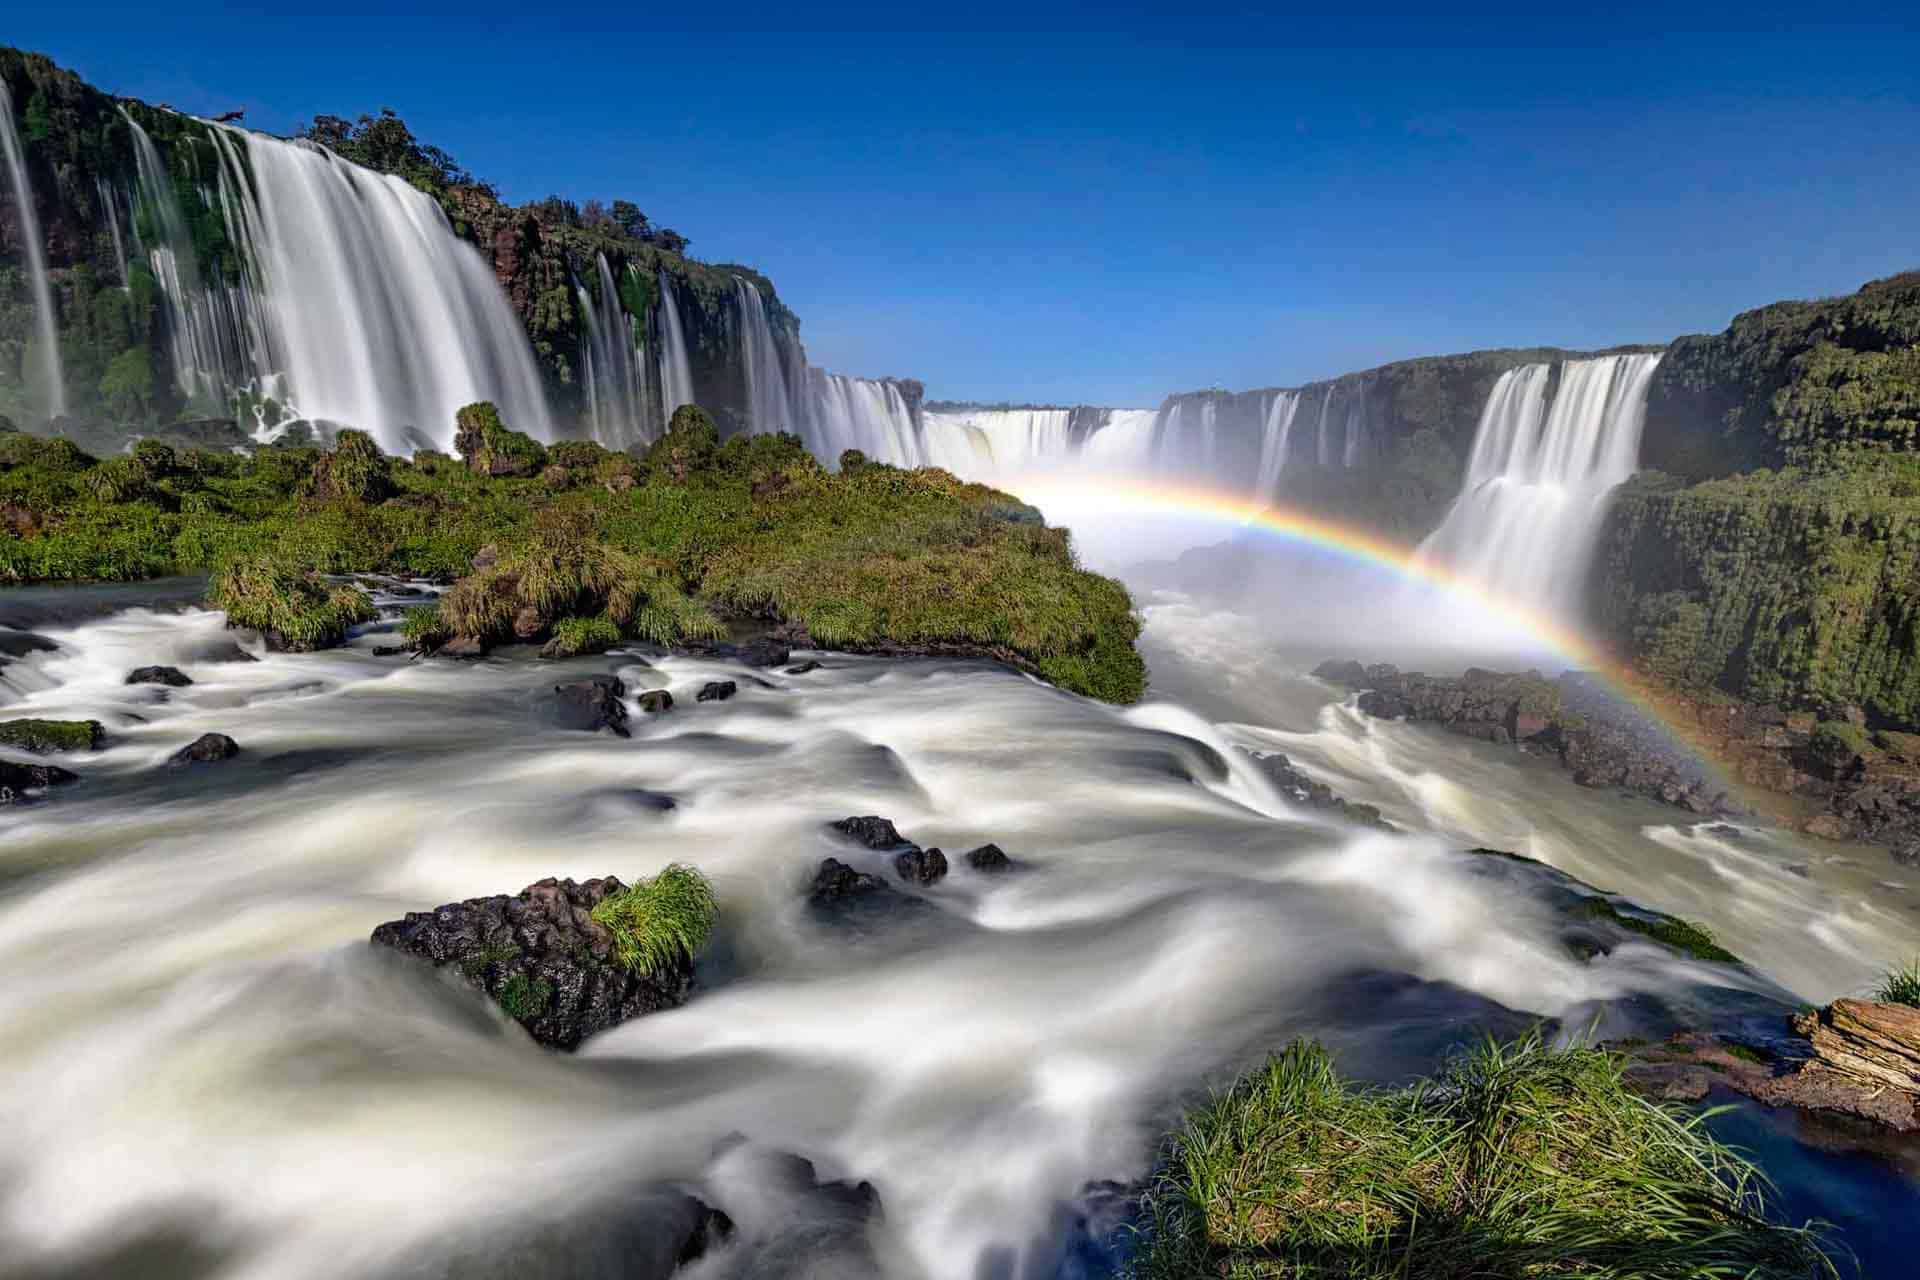
Certainly one of our favorite suggestions for panorama images is to make use of main traces in your shot so as to add energy.
The idea behind that is that once you take a look at a lovely panorama picture, contours ought to permit your eye to naturally circulation across the scene, drawing consideration to the primary topic.
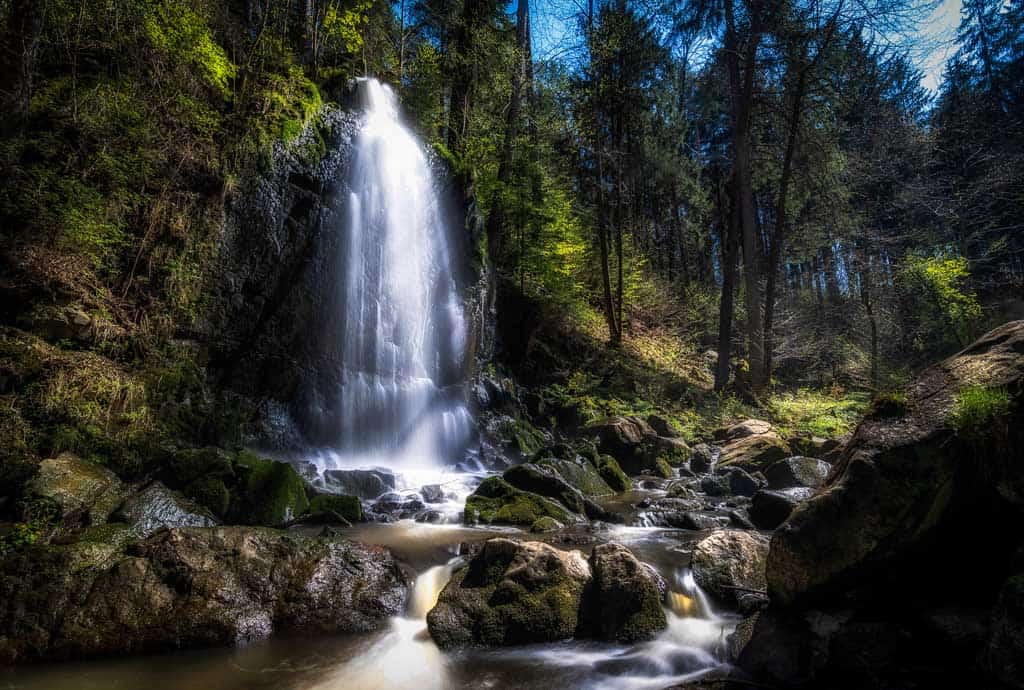
Maybe your point of interest is a waterfall tumbling off of a cliff. However fairly than simply taking an image of the cascades, you’ll be able to shoot large to get the creek that flows away from the waterfall as effectively, which then helps the viewer information their method across the picture.
A number one line might be something – a meandering river, the ridge of a mountain, contrasting shadows, a row of rocks – so use the pure setting and your creativeness to your benefit right here.
Stroll Round Earlier than You Set Up Your Shot
That is one among our high journey images suggestions on the whole, not only for panorama images – Use your toes as a lot as you employ your eyes.
When you arrive at a location, don’t be in such a rush to arrange your tripod and digicam gear that you just don’t take a couple of minutes to stroll round and see what different angles you could find.
You could assume you will have the proper composition already, however in actuality, should you walked 2m to your left, you’d be capable of get a dangling tree department to border the mountain within the distance.
Or perhaps you’re excited about composing your shot at eye degree, however should you stepped ahead and squatted down, all the things would come collectively in a a lot tighter angle.
Take your digicam with you when you’re scoping the most effective place out, and take some check photographs. These don’t should be good technically, however attempt to discover the most effective composition from each angle.
Keep in mind, what your eye sees and what your digicam sees might be two totally various things, so having these check photographs will let you determine which one seems to be greatest.
There’s nothing worse than spending an hour capturing, then when the sunshine is gone and also you’re packing up you see a greater angle simply across the nook.
The purpose is that fairly than attending to a location, screaming “WOW!” and organising your tripod proper then and there, take a while to scope out your complete place correctly and discover the best possible composition.
Should you solely take a handful of our images suggestions for landscapes away, make sure that that is one among them.
Purchase a Extensive Angle Lens for Common Panorama Pictures (and Be taught The way to Use It)
Should you had to purchase only one lens to benefit from our panorama images secrets and techniques, make sure that it’s a wide-angle.
Basically, most panorama photographs are of huge, dynamic scenes. Suppose mountains, forests, oceans, rivers, and many others.
Due to that, it’s essential to have the ability to seize as a lot as you’ll be able to see as potential.
READ MORE: Take a look at our listing of the most effective journey cameras!
Extensive angles are typically thought of to be 24mm or much less, however the most typical focal size is 16mm.
One caveat with wide-angle lenses although is that they are often notoriously tough to compose a shot.
The 2 primary causes for that is that they have an inclination to make topics which might be far off within the distance fairly small, and topics on the sting of the body shall be distorted.
It’s essential that you just don’t place one thing with a well-recognized form near the sting of your shot, as a result of the attitude warps it to some extent that it virtually seems to be comical (buildings, folks, man-made objects, and many others).
Nevertheless, that doesn’t imply you need to preserve all the things within the centre of the body. Fairly the other really.
As a substitute, to compose a wide-angle shot correctly, it’s essential to make use of an anchor level or body on the sting of the shot to tug the picture collectively.
A method to do that correctly may be to discover a rock within the foreground and place the lens very near it.
An alternative choice may be to make use of the pure curve of a river or canyon edge to bend across the foreground, so that you don’t find yourself with an empty area.
When you get a wide-angle lens, get on the market and apply quite a bit with it to grasp the way it works correctly. While you determine it out, your photographs will begin to look incredible.
Use a Telephoto Lens for Compression Impact
On the other finish of the spectrum, telephoto lenses (200mm and longer) can be a secret to have up your sleeve on this listing of nature images tups for a couple of completely different tips.
The primary, and most evident, motive is that it means that you can zoom in on a distant topic. One thing like a mountain peak or tree bending over a river.
The opposite motive telephoto lenses are helpful in panorama pictures is having the ability to use an impact generally known as ‘lens compression’.
READ MORE: Study lens compression and different strategies in our new skilled information to portrait images suggestions!
Basically what lens compression does is make the background of a shot seem nearer to the foreground the extra you zoom in.
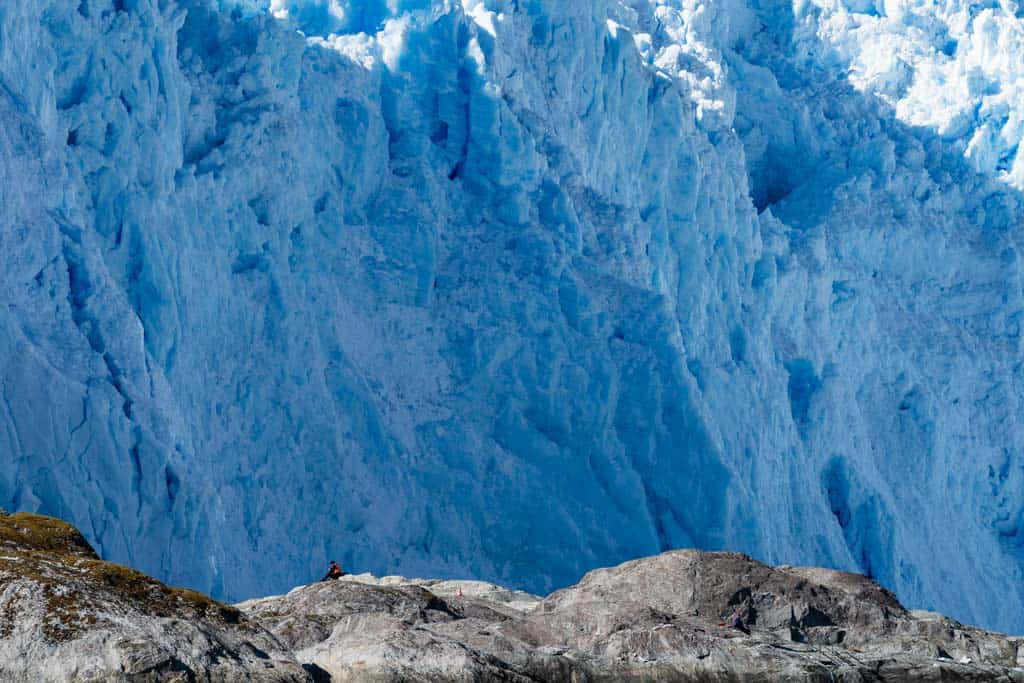
Take a look at the shot beneath, which was taken on the El Brujo Glacier within the Chilean Fjords.
Through the use of a telephoto lens, we may actually compress the entrance of the glacier behind the person sitting on the rock to actually emphasise simply how massive that glacier is.
Lens compression additionally made it seem as if the glacier was only some metres away, when in actuality he was a minimum of 100m from the sting of the glacier.
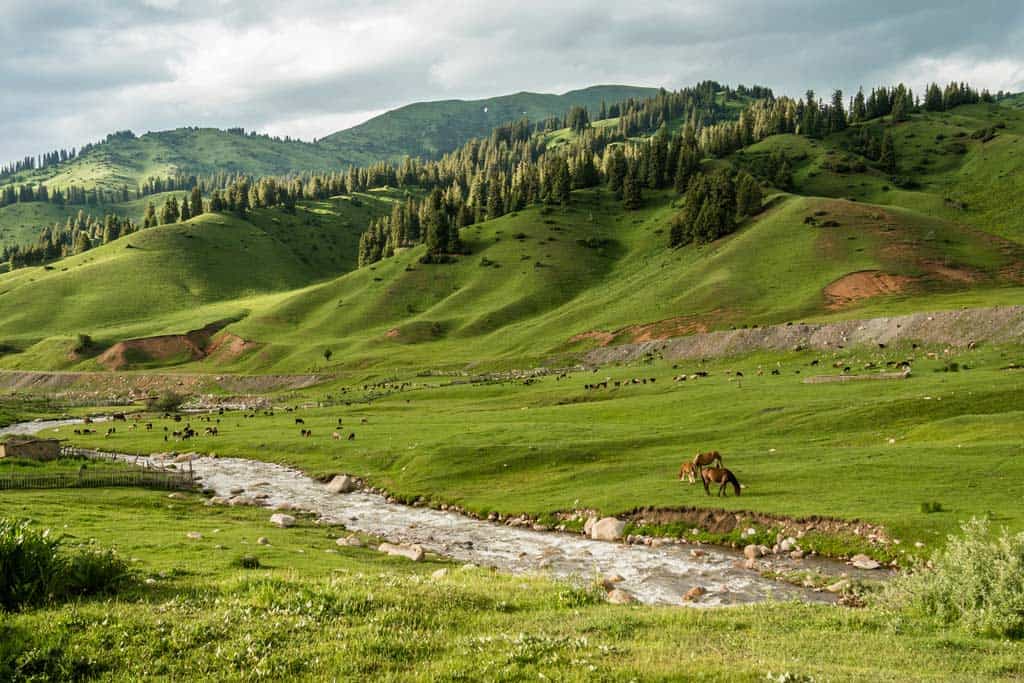
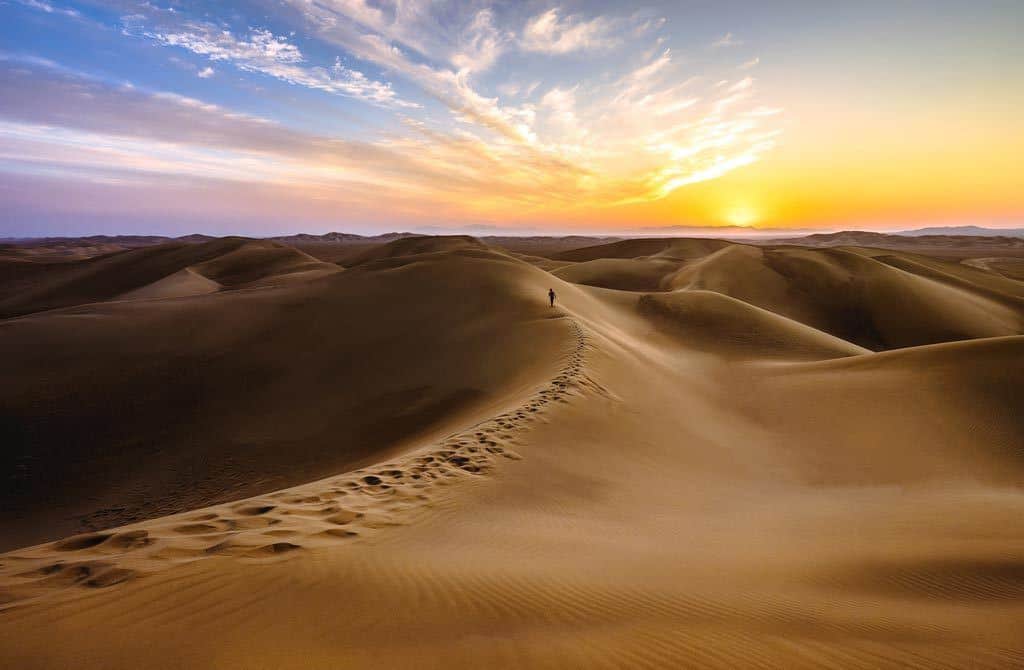
Give a Sense of Scale
Panorama photographers usually take care of epic scenes. Mountains, waterfalls, glaciers, seashores. These sorts of issues.
However how will you make sure the viewer actually will get an understanding of simply how massive and epic the scene actually was?
You do that by putting one thing that everyone can relate to the dimensions of, a human, animal or automobile for instance, someplace within the scene.
This straightforward panorama images tip will assist give your photographs an simply recognised dimension that’s simply understood, and can assist convey simply how massive one thing is when capturing it.
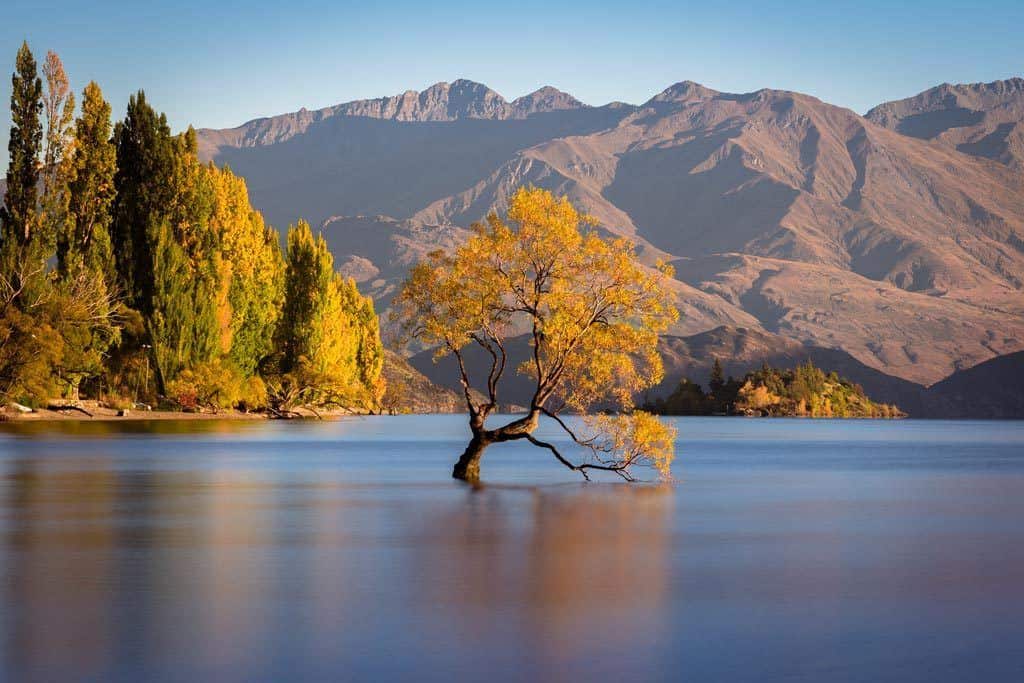
Search for Reflections
Reflections have the power to show a median picture into one thing that can make our jaws drop.
While you’re out taking panorama images, search for reflections in issues like lakes, calm ocean or rivers, or even perhaps in puddles.
Some reflections shall be apparent to see, however generally you could must squat down and place your digicam as near the water floor as potential to see them.
Attempt experimenting with the composition to see what you may make work.
Keep in mind, on this listing of nature images suggestions, you’ll be able to take issues into your personal fingers.
Inserting the horizon of a mirrored image proper in the course of your shot is a superb instance the place the ‘rule of thirds’ is supposed to be damaged.
Get a Round Polarizing Filter
Should you’ve ever gone out capturing the ocean, snowy landscapes, bushes or clear skies in the course of the day, you most likely have needed to take care of harsh glare and reflections.
One of the simplest ways to do away with this blinding mild is to make use of a round polarizing filter.
These filters screw onto the entrance of your lens, and are made up of two items of glass (a linear polarizer and quarter wave plate, if you wish to get technical) that rotate to chop mild glare from a scene.
By rotating the entrance glass, you’ll begin to discover the sunshine disappearing in numerous areas of the body, which then returns distinction, saturation and steadiness to the shot.
These are extremely helpful instruments in not simply landscapes, however many different kinds of images, as they assist preserve the scene clear and take away any mild distractions.
Round polarizing filters additionally lower out about 1-2 stops of sunshine on common, to allow them to additionally generally be used as impartial density filters.
We advocate shopping for the most effective filter you’ll be able to afford, as low-cost ones usually create an odd color forged throughout your shot.
We at the moment use Hoya Pro1 Digital Round Polarizing filters on our lenses. Be sure you get one which matches the thread measurement in your specific gear.
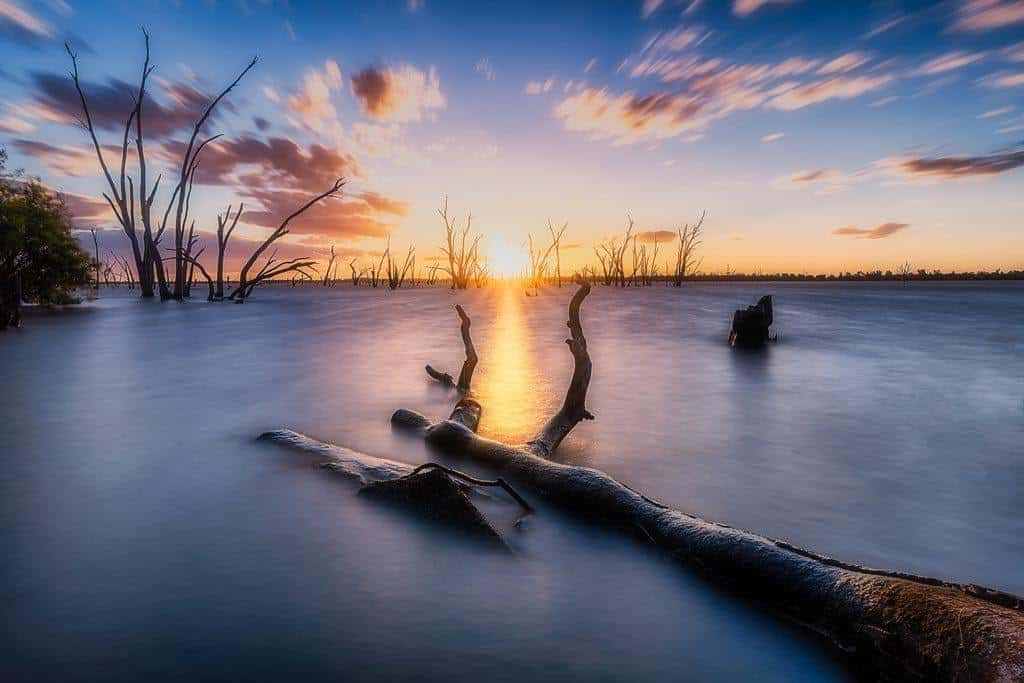
Shoot within the Blue and Golden Hours
Regardless of the way you take a look at it, images is about capturing mild. So it is smart that you just’ll wish to shoot in the course of the a part of the day when the sunshine is probably the most lovely.
The blue hour is the time when the sky has sufficient ambient mild in it to begin to illuminate the scene, earlier than the solar has come near the horizon, or after it has effectively and actually set.
This creates a beautiful, cool hue to a panorama, though it’s usually nonetheless fairly darkish so that you’ll want a tripod to seize a clear picture.
The golden hour is the time simply earlier than and after the solar rises, or simply earlier than and after the solar units.
This may be thought of the optimum time to shoot panorama images, as a result of when situations are proper, you’ll find yourself with a spectacular, heat glow.
For this addition to our panorama images workflow, understand that capturing in the course of the golden and blue hours actually makes your pictures pop, and might be the distinction between an okay picture and a portfolio picture.
A great apply, operating over from the placement scouting panorama picture tip above, is to reach on the spot you wish to shoot effectively earlier than the golden and blue hours begin to give your self time to arrange (and never miss the great mild).
Use Lengthy Exposures for Water and Clouds
One of the crucial efficient suggestions for panorama images is to get into lengthy exposures.
Lengthy exposures is actually once you use a sluggish shutter pace to create movement blur in a picture.
For landscapes particularly, this system is usually used to get silky water, or to provide the phantasm of streaky, paint-like clouds.
By putting your digicam on a tripod and setting your shutter pace to the suitable time (how lengthy relies on the inventive model you’re on the lookout for), you’ll be able to actually add a strong impact to your panorama photos.
Should you’re capturing in low mild, you’ll be able to usually obtain sluggish shutters by stopping all the way down to f/11 or f/16 and utilizing ISO100.
READ MORE: Take a look at our newest information to a different one among our favorite lengthy publicity images sorts – astrophotography!
If the scene is just too vivid at these settings to get a sluggish shutter, you will want to begin investing in impartial density (ND) filters.
These heavily-tinted items of glass are positioned on the entrance of your lens, utilizing both a mount or screwing immediately onto the lens thread, and are like placing sun shades in your digicam.
That is how photographers obtain lengthy exposures in the course of the day.
Should you’re not sure the place to begin with ND filters, take into account getting a 6-stop ND (blocks out 6 stops of sunshine, good for medium-brightness situations) or a 10-stop ND (blocks out 10-stops of sunshine, good for vivid situations).
We use and advocate NiSi filters, they usually’ll actually add a brand new instrument to our panorama picture suggestions.
Take A number of Exposures (Underneath- and Over-Uncovered)
Usually after we’re capturing landscapes, we’re coping with very excessive distinction scenes with extremes in highlights and shadows.
That is the place we begin to contact on the restrictions of ordinary images, as a result of whereas our eyes can see the main points fairly clearly, a digicam can wrestle to seize this vary of sunshine precisely.
That’s why studying the right way to bracket your images is paramount in panorama capturing.
What this implies is that you just take a number of images of the identical scene, one at good publicity, one (or extra) at 1-3 stops underexposed, and one (or extra) at 1-3 stops overexposed.
Take a look at our new YouTube tutorial on the right way to bracket a number of exposures in panorama images:

There’s a few explanation why you’d wish to do that.
The primary is that once you’re within the subject a small LCD display screen, you’ll be able to’t actually inform whether or not or not you will have captured all the main points you need.
This solely turns into apparent as soon as you might be again at residence and your pictures in your pc.
The very last thing you need is to take a couple of images of a lovely seashore dawn, assume that you’ve got nailed it, then get residence to find you blew out the sky.
By having a number of exposures you give your self the choice later of selecting which shot you want.
A characteristic that’s constructed into many cameras lately known as Excessive Dynamic Vary (HDR) images, which goals to retain all the main points within the shadows, midtones and highlights and merge them into one shot.
Nevertheless HDR images can usually grow to be oversaturated, with harsh contrasts, and look fairly pretend.
As a substitute what we advocate doing is utilizing your bracketed pictures to then mix them collectively in a program like Photoshop, so you’ll be able to obtain a extra pure composition.
At this stage it’s essential for us to share that should you aren’t already enhancing your images, it’s time to begin studying.
We advocate the Adobe Artistic Cloud subscription service. Use this hyperlink to get a 7-day free trial.
Right here’s an incredible tutorial on the right way to mix images in Photoshop.
Create a Panorama Utilizing Separate Pictures
Typically the scene you might be capturing is simply too massive to suit right into a single body. That’s the place capturing panoramas come into play.
You’ve got most likely seen this characteristic in your digicam or smartphone already, and whereas it achieves an honest end result, it isn’t at all times good.
As a substitute we advocate taking a number of photographs manually, and merging them later in a program like Lightroom.
To do that, merely level and shoot on the fringe of the purpose the place you need your shot to begin, and slowly pan the digicam (both horizontal or vertical) 1/3 of the body at a time, clicking the shutter as you go.
It’s greatest to do that on a tripod, however you are able to do it handheld as effectively.
The explanation you solely transfer the digicam 1/3 of a body every shot is to provide your self a number of room to merge later.
The top end result shall be a a lot higher-definition DNG picture, fairly than a standard-definition JPEG.
Additionally we advocate on the very least to dial in your aperture, ISO and focus level earlier than you begin the pano.
That’s so that you don’t find yourself with one shot at f/11, targeted on the distant mountains, then the following one at f/5.6 targeted on a close-by tree, all making an attempt to mix collectively.
Should you’re utilizing a tripod and there aren’t any fast-moving components, shutter pace gained’t matter as a lot on this occasion.
Right here’s a tutorial on the right way to merge panoramas collectively in Lightroom.
Suppose About Your Composition
The three issues which might be completely paramount to getting an unbelievable panorama picture is lighting, focus and composition.
You can also make a mistake on the technical facet of issues, similar to utilizing the fallacious aperture or a excessive ISO, and nonetheless find yourself with a lovely picture.
However should you mess up the opposite three components, your shot is sort of destined for the trash.
Having a stable composition is without doubt one of the most essential, and tough, components of panorama images.
While you’re strolling round and organising your shot, search for how all the things works collectively.
Search for main traces. Scan your eyes across the fringe of the body to ensure you’re not reducing off something essential.
Be sure that something that’s pushed to the sides has sufficient respiration area to not fill cramped within the remaining picture.
Test that the horizon is degree. Be sure that topics of curiosity (like a human or attention-grabbing tree) stands out and isn’t touching towards one thing that attracts the attention away from it.
Use the ‘Rule of Thirds’, the place you break your picture up into 9 squares and place factors of curiosity in a corresponding third or assembly a part of the picture.
There generally is a lot to bear in mind when creating your composition, however the most effective half is that you just often have time to consider it in panorama images.
Not like road images the place a second might be gone instantly, so long as you give your self sufficient time so that you don’t miss the sunshine, you’ll be able to actually research each a part of your panorama shot.
Select Your Focus Level
The ultimate level on our listing of greatest panorama images suggestions is to decide on your personal focus level.
Trendy cameras do a fairly good job with autofocus, however they don’t at all times get it proper.
Particularly in low-light conditions, the digicam may be trying to find a spotlight level, and find yourself selecting the fallacious ingredient.
Reasonably than specializing in the waterfall, it picks a boulder within the foreground, as an illustration.
Don’t take any possibilities with this and as an alternative slender down your autofocus level to be as small as potential, then transfer that time to precisely the place you need, or use guide focus.
It takes a bit longer, however you’ll be assured to have good focus each time.
Panorama Pictures Settings and Tips
You already know the entire methods to enhance your expertise within the subject, now it’s time to study the most effective settings for panorama images!
As a disclaimer, all of those settings and tips ought to be thought of pointers, and each capturing scenario shall be completely different.
Experiment with all of them and let your personal creativity take cost. We additionally advocate studying concerning the publicity triangle should you aren’t aware of it already.
However should you’re comparatively new to this and simply wish to know what panorama images settings to make use of, right here’s a common information.
(Be aware – we shoot in full guide mode, however many nice panorama photographers use Aperture Precedence mode. Be happy to make use of whichever you want.)
Set Your Aperture to f/8, f/11 or f/16
In panorama images, you typically desire a respectable depth of subject so most of your scene is in focus.
Should you’re not planning on focus stacking (we’ll contact on that beneath), then the most effective factor you are able to do is use a small aperture.
Setting your digicam to f/8, f/11 or f/16 offers you a balanced depth of subject that shall be pleasing to the attention, particularly in case your scene is sort of three-dimensional.
Use ISO100
Having the cleanest picture potential may be very useful in panorama pictures, and you’ll obtain this by dropping your ISO to 100.
This minimises the quantity of noise you’ll see within the shadows, permitting you to actually push the picture in post-processing.
Most respectable dSLRs and mirrorless cameras lately can deal with a lot larger ISOs, so should you’re capturing on a Sony A7Riii or Canon 5Div for instance, you’ll be able to undoubtedly get away with one thing like ISO1600 or ISO3200, with just a bit little bit of noise discount in publish.
However should you’re capturing on a less expensive digicam, even ISO800 might be an excessive amount of generally.
Dial the ISO to 100 and don’t stress concerning the noise.
Shutter Pace Doesn’t Matter (Until You’re Doing a Lengthy Publicity)
While you’re selecting the most effective settings for panorama images, the shutter pace doesn’t actually matter, except you might be doing an extended publicity or taking a photograph that has transferring components in excessive wind (tree branches for instance).
Assuming you might be capturing one thing that’s static fairly than dynamic, and also you’re utilizing a tripod, you simply want to fret concerning the aperture and ISO being proper and select no matter shutter pace is ample for the precise publicity.
Bonus Tip – Lengthy Publicity Shutter Speeds
If you’re planning on capturing an extended publicity however don’t know the place to begin by way of shutter speeds, this could offer you a good suggestion to kick issues off (keep in mind to experiment to see what you personally like).
Waterfalls
Purpose for between 1/15 and 1 second, relying on how sturdy the water is flowing. It will preserve tendrils and texture within the waterfall, fairly than washing it out utterly.
Be taught extra about our high waterfall images suggestions on this publish.
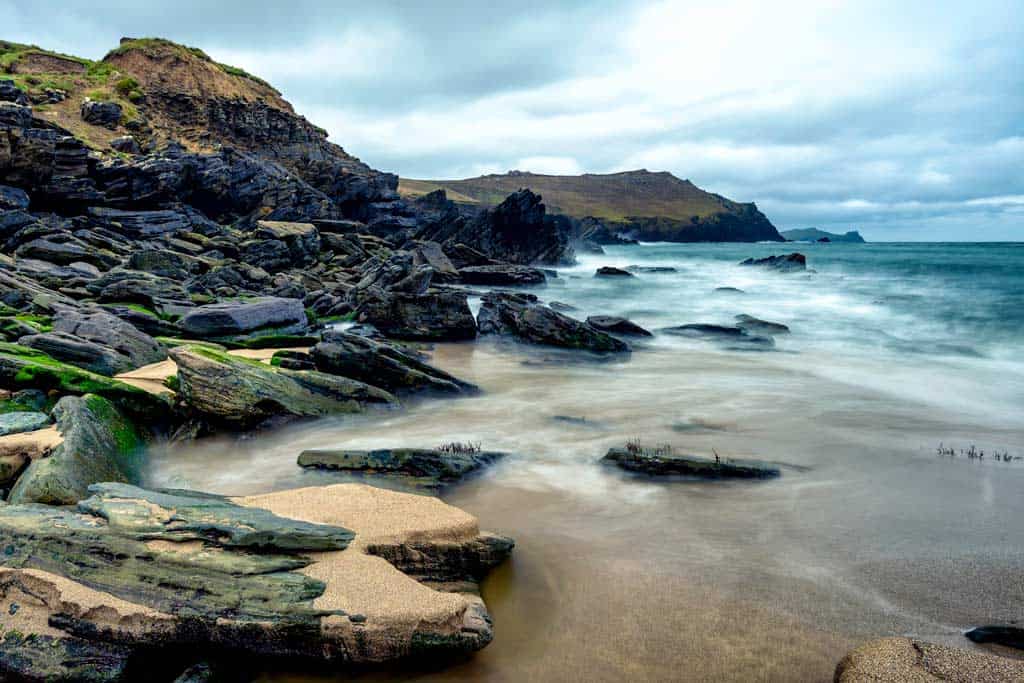
Waves
Someplace between 1/30 and 1 second ought to work nice, once more relying on the inventive model you’re aiming for.
Clouds
30+ seconds. The longer the shutter stays open, the extra motion you’ll get within the clouds.
Set your digicam to 30 seconds to begin with, and should you want longer, change it to bulb mode and use a distant shutter launch to lock it open.

Shoot in RAW
Until you don’t plan on enhancing your images, or you might be actually struggling for cupboard space, you need to at all times shoot in RAW mode as an alternative of JPEG.
RAW images are bigger recordsdata that keep the entire color particulars from a scene with out compression.
This implies you’ll be able to actually push the colors, highlights and shadows in post-processing with much less destruction and degradation of the shot.
Focus Stacking
Focus stacking is the place you’re taking a number of exposures from the very same spot (utilizing a tripod) and manually concentrate on completely different components all through the scene.
For instance you’re taking a photograph targeted on the rock within the foreground, one other picture targeted on the river in the course of the shot, then take a remaining image targeted on the mountain within the distance.
Then you definitely use a program like Adobe Photoshop to mix these 3 exposures collectively, so that each single a part of your shot is completely in focus.
It may be a really highly effective instrument to have in your arsenal as soon as you understand how to make use of it, though it does take time and self-discipline to execute it completely.
DISCLAIMER: A few of the hyperlinks on this article are affiliate hyperlinks, which suggests should you e-book lodging, excursions or purchase a product, we’ll obtain a small fee at no additional price to you. These commissions assist us preserve creating extra free journey content material to assist folks plan their holidays and adventures. We solely advocate the most effective lodging, excursions and merchandise that ourselves or our incredible editorial staff have personally skilled, and frequently overview these. Thanks in your help, form pal!